Learn from your fellow PHP developers with our PHP blogs, or help share the knowledge you've gained by writing your own.

Your biggest asset is also your biggest risk... your developers


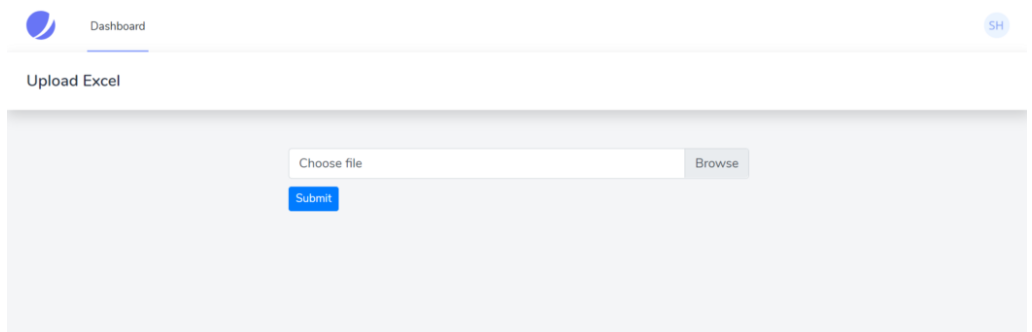
<form method="post" enctype="multipart/form-data"> @csrf <div class="custom-file"> <input type="file" accept=".csv" name="excel" class="custom-file-input" id="customFile" /> <label class="custom-file-label" for="customFile">Choose file</label	> </div> <div> <button type="submit" class="btn btn-primary btn-sm" style="margin-top: 10px"	>Submit> </div>

</form>
php artisan make:controller UploadController
Route::post('/upload', [UploadController::class, 'upload'])->name('upload')->middleware('auth');
<form method="post" action="{{route('upload')}}" enctype="multipart/form-data">
$file = $request->file('excel');
if (($handle = fopen($file, "r")) !== FALSE) { while (($data = fgetcsv($handle, 1000, ",")) !== FALSE) { ..... }

}
{ "name": "test", "job": "test"

}
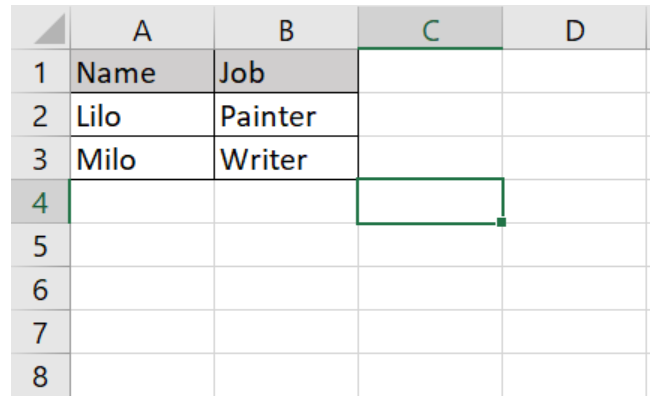
if (($handle = fopen($file, "r")) !== FALSE) { while (($data = fgetcsv($handle, 1000, ",")) !== FALSE) { Http::post('https://reqres.in/api/users', [ 'name' => $data[0], 'job' => $data[1], ]); }

}
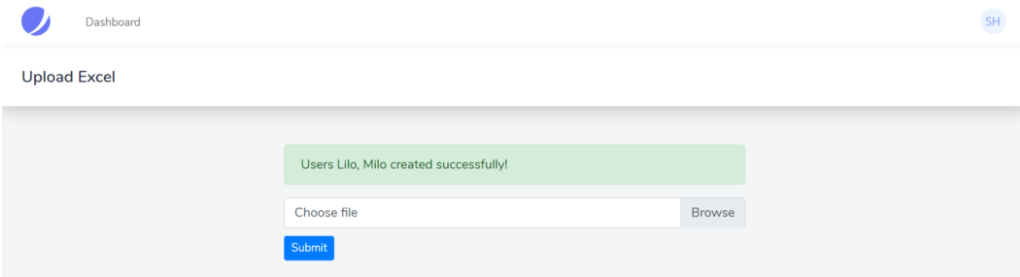
public function upload(Request $request){ $file = $request->file('excel'); if($file){ $row = 1; $array = []; if (($handle = fopen($file, "r")) !== FALSE) { while (($data = fgetcsv($handle, 1000, ",")) !== FALSE) { if($row > 1){ Http::post('https://reqres.in/api/users', [ 'name' => $data[0], 'job' => $data[1], ]); array_push($array,$data[0]); } $request->session()->flash('status', 'Users '.implode($array,", ").' created successfully!'); $row++; } } }else{ $request->session()->flash('error', 'Please choose a file to submit.'); } return view('dashboard');

}
<div class="container max-w-7xl mx-auto sm:px-6 lg:px-8" style="width: 50%"> @if (session('status')) <div class="alert alert-success"> {{ session('status') }} </div> @endif @if (session('error')) <div class="alert alert-error"> {{ session('error') }} </div> @endif <form action="{{route('upload')}}" method="post" enctype="multipart/form-data"> @csrf <div class="custom-file"> <input type="file" accept=".csv" name="excel" class="custom-file-input" id="customFile" /> <label class="custom-file-label" for="customFile">Choose file</label> </div> <div> <button type="submit" class="btn btn-primary btn-sm" style="margin-top: 10px">Submit</button> </div> </form>

</div>
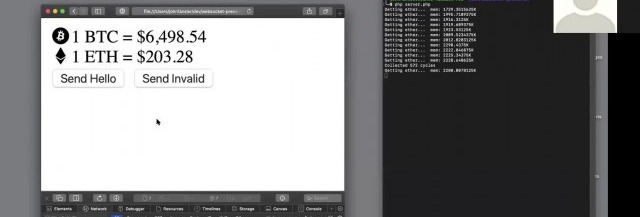
WebSockets have compatibility with 96.5% of clients globally
OnConnection method.OnOpen gets called when a new connection is made.OnClose gets called when a client quits. It's essential to keep an eye on memory management, and essential to keep tidying up as you move through the code.OnError gets called when there is an exception faced by the user.OnMessage gives the text of the JSON message, which is being exchanged with the client.
 g10dra 155,678
  mike 108,015
  crocodile2u 106,166
  harikrishnanr 80,295
  calevans 80,039
  christiemarie 54,634
  dmamontov 54,098
  MindNovae 52,790
  HowTos 24,616
  tanja
tanja SPONSORS

SPONSORS